If you would like to hold office hours via Zoom, this article will walk you through using your Personal Meeting Room, which is an easier option versus scheduling recurring or individual meetings.
- Sign into your Zoom account: https://zoom.us/signin
- Click on Profile in the left-hand menu:
- Scroll down to Personal Meeting ID, and click the eyeball to show the full link:
You can copy and paste this link into your web browser at any time to join your Personal Meeting Room. We recommend bookmarking this link for safe and easy access.
Note: You will need to always use the long link under Personal Meeting ID instead of the Personal Link listed below it. The long link under Personal Meeting ID has the "pwd" built into it, so students won't need to enter it when joining. - Now you can configure your room's settings for your preferred experience. Click on Meetings in the left hand menu. Then click on the Personal Room tab. Next, click Edit at the bottom left:
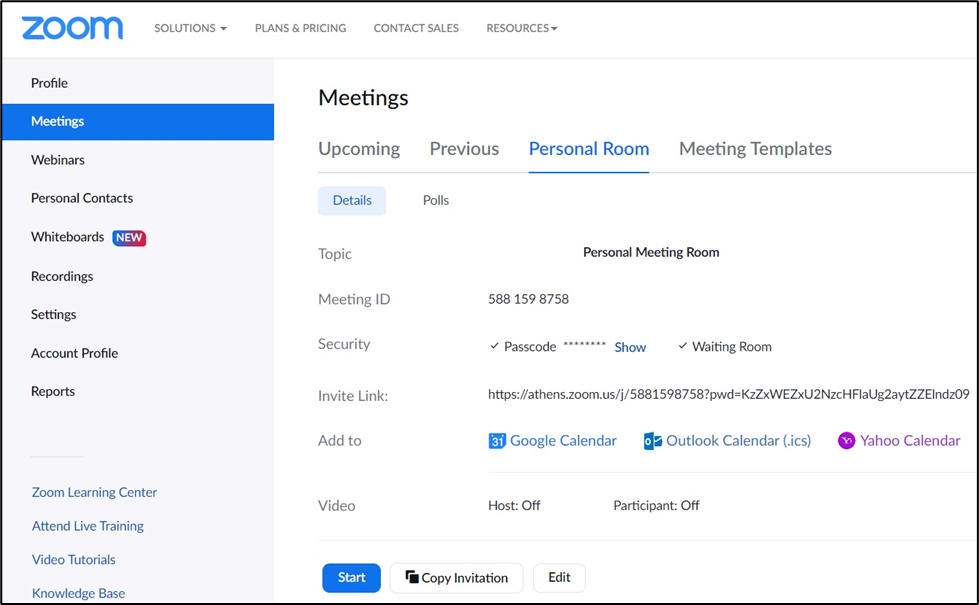
- In the editor, make sure the box next to Waiting Room is checked. This way when a student tries to join your Personal Meeting Room, you'll receive a notification to admit them to the meeting when you're ready. This prevents students from interrupting private conversations. More information about this feature can be found in Zoom's Waiting Room Guide.
After checking these settings, you can click Save.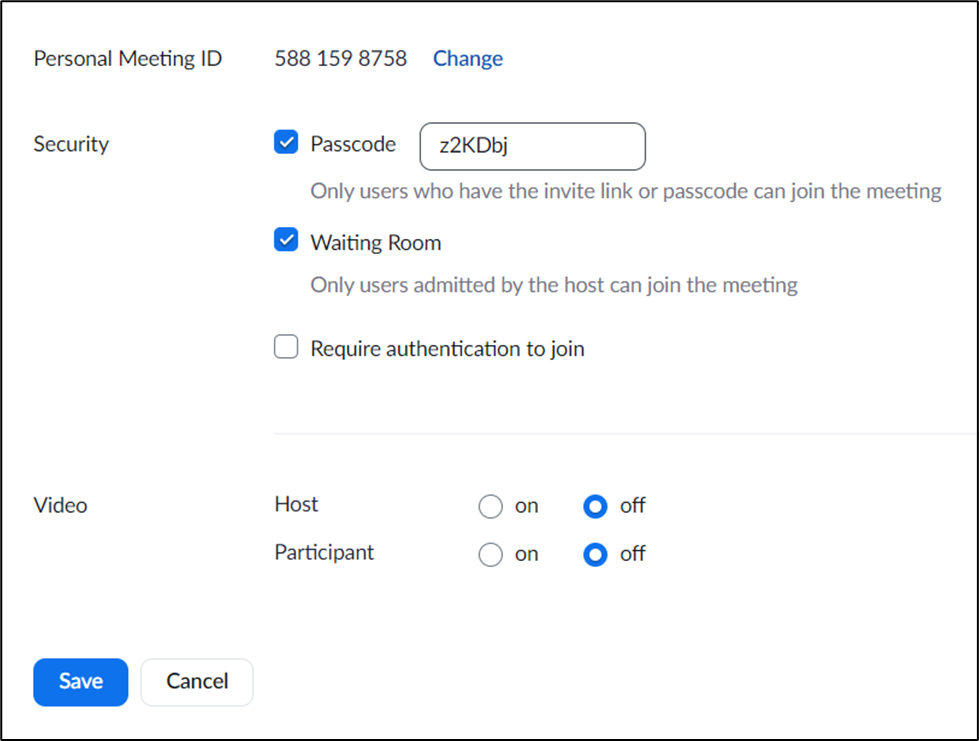
- Your Personal Meeting Room is now setup and ready for use. You can provide this link to your students at the beginning of the semester by including it either in your syllabi.